
I think I have approximately 7,458 recipes in my kitchen. Most come from magazines, friends, family, and, of course, Pinterest (Yes. I make a hard copy once I’ve tried the recipe and know I’ll make it again.) Wanna guess where I used to keep these recipes? In a folder! Like, a two-pocket folder you use in elementary school. So, here’s me, trying to shuffle through 7,000 recipes looking for that crazy-good chocolate cake I ate 8 months ago. The system was a fail.
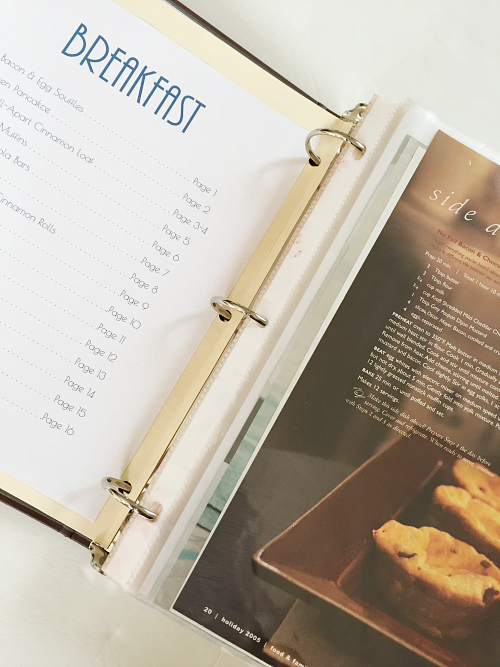
Time to try something else; so I created a Recipe Binder… but there was an issue… Most page dividers you find are perfect when using 8 1/2 x 11 paper, but I want my recipes in plastic sleeves, so that while I’m whipping up a batch of cookies (and dough goes flying around the kitchen) my recipe isn’t ruined. But the plastic sleeves are so big, they hide the dividers, which makes it hard to find what I’m looking for; so I created my own.
Here’s What You’ll Need
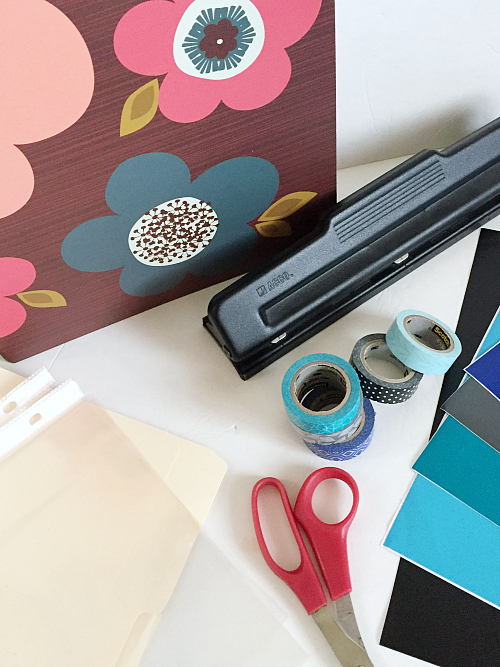
- Plastic Sleeves for your Recipes (Optional, but highly recommended)
- File Folders (These are larger than traditional page dividers as they are meant to hide your typical 8 1/2 x 11 sheets of paper.)
- Scissors
- Double Sided Tape (If creating Table of Contents)
- Washi Tape (Optional)
- Vinyl (Optional)
- Cricut or Other Vinyl Cutting Machine (Optional)
You can make your dividers as simple or as extravagant as you want.
Directions
Start by dividing your recipes into categories: Breakfast, Soups & Salads, Entree, Desserts, Etc. Make as many, or as few, categories as you’d like. Once you have your recipes divided, you can insert them into plastic sleeves (if you choose).
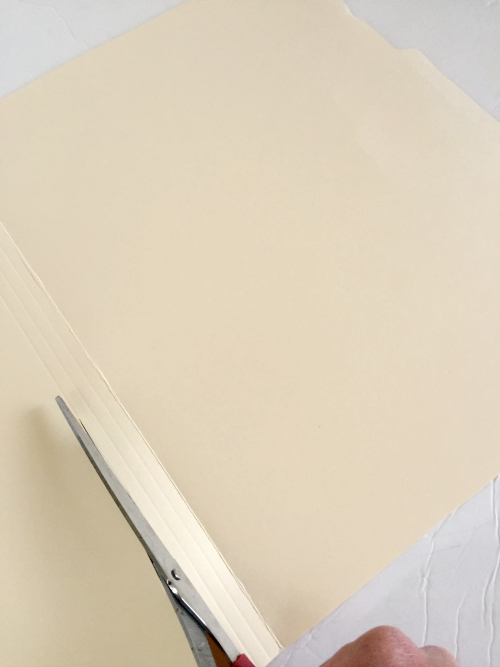
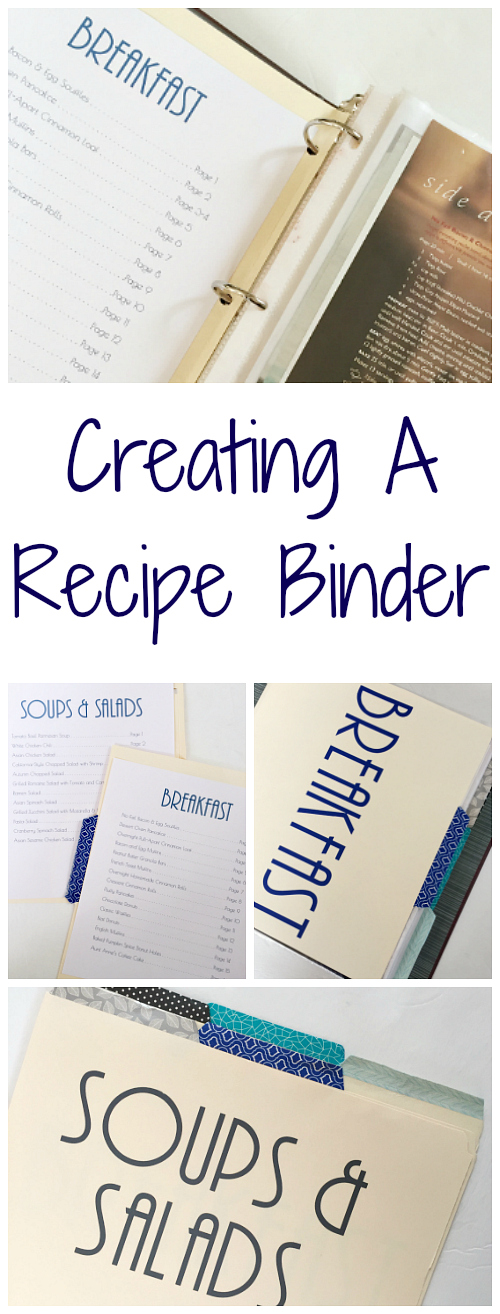
To create your dividers, you’ll start by cutting off the tabbed part of the file folders. Start by cutting it on the furthest crease from the tab. You want the tabs to stick out further than your recipes.
Then use a 3 hole punch to punch out holes so the dividers fit into your binder. Please note that you may have to trim the sides a bit so they fit into the hole-puncher… and once you put the dividers into the binder, you may need to trim the bottoms as well. I’d rather you start with too much spacing, than not enough.
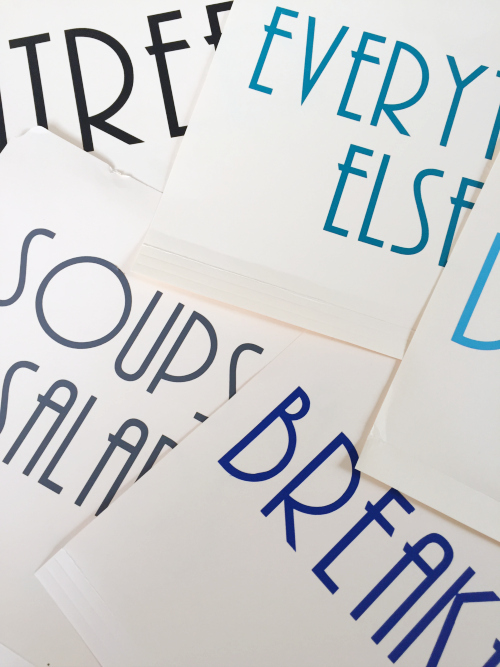
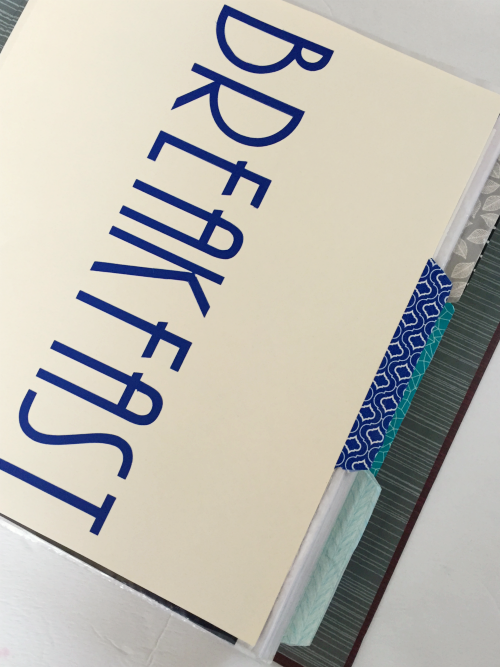
Now, to spruce up those dividers, I decided to add some vinyl lettering for each section…
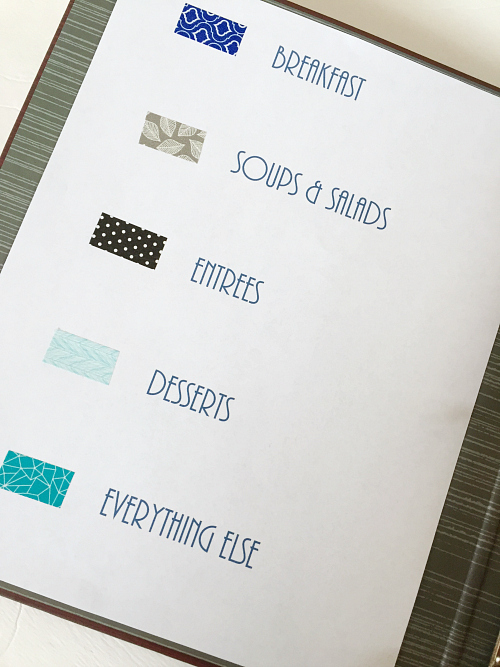
… and some fun, patterned washi tape to the tabs.
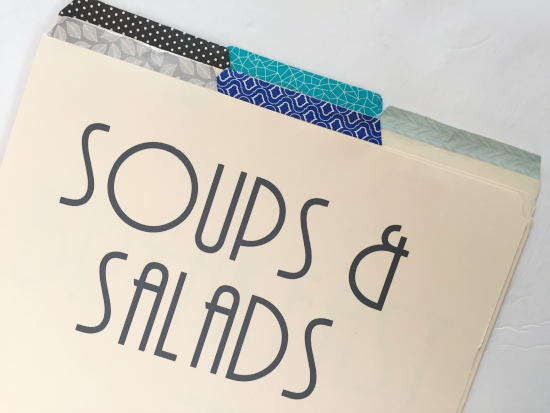
I decided against labeling the tabs, and simply put a coded system at the front of the binder.
Because I have so many recipes, I also decided to create a Table of Contents for each section.
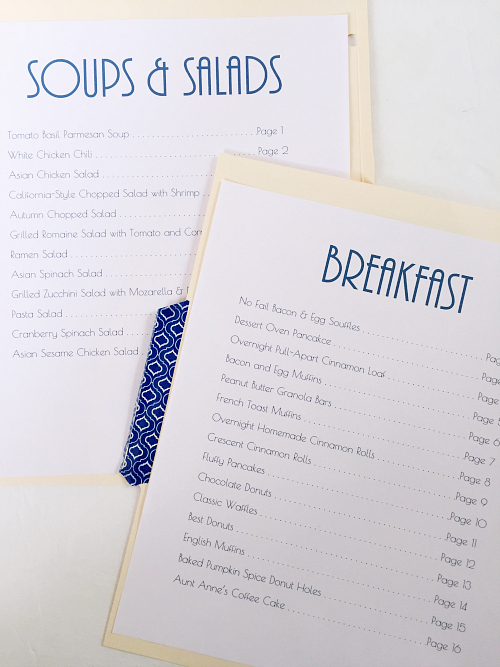
It seemed easiest to adhere the Table of Contents to the back of my page dividers, and each section starts with page 1 so I don’t have to worry about adding new recipes and messing up the system
Now you can put everything together in your recipe binder, and you’re done. No more sifting through thousands of recipes trying to find what I need.
Rather Buy Than DIY?
Click on the Images Below for More Details
Want to Follow Along with Lemons, Lavender, & Laundry? Subscribe!
Every email subscriber is entered into a monthly giveaway for products I think you’re gonna love. Learn more here.
Social media more your style? I’d love to have you follow along:
Facebook // Pinterest // Instagram // Twitter // Google+
Love it? Pin it!
Original article and pictures take www.lemonslavenderandlaundry.com site
Комментариев нет:
Отправить комментарий