Our main floor powder room is finally done! It was one of those projects that started out as just a “paint the walls” kind of project but, of course, one thing always leads to another! I should have the whole room reveal for you up next week {UPDATE: you can find it HERE}, but today I am going to share this easy DIY storage ladder tutorial…
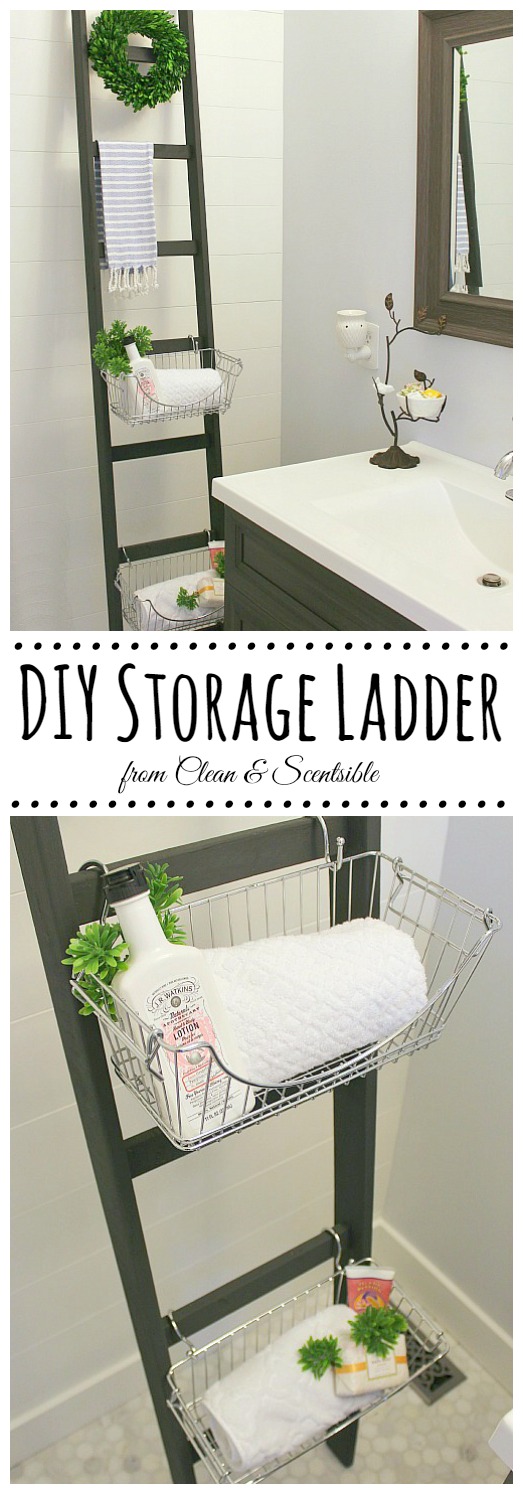
My inspiration came from this ladder from Gershwin and Gertie…
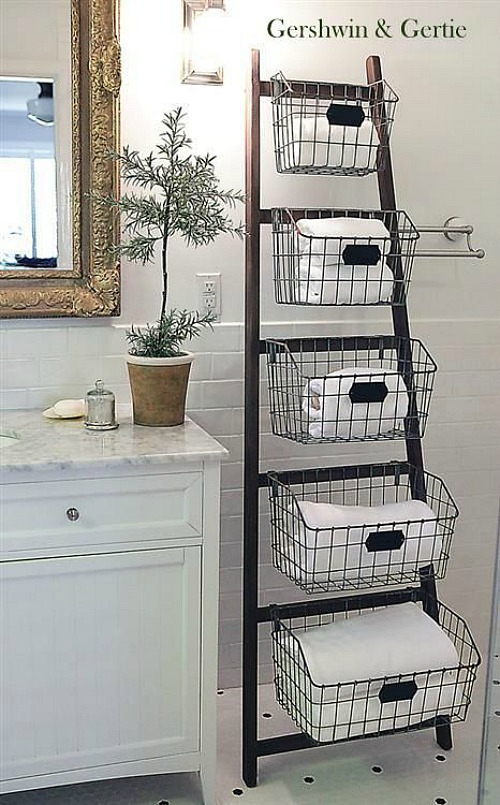
I absolutely loved the ladder {as well as everything else on that site!}, but at $538 dollars it was WAY out of our price range.
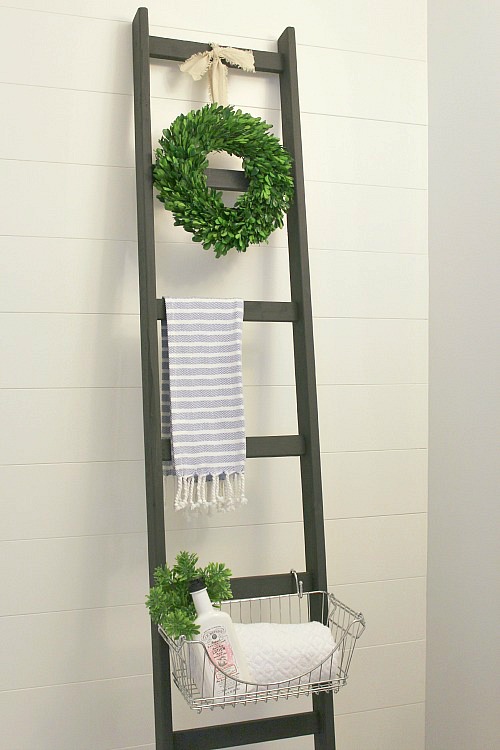
This simple DIY version came in at around $30. If you wanted more storage baskets, it would obviously cost a little more, but still WAY cheaper than the inspiration!
MATERIALS
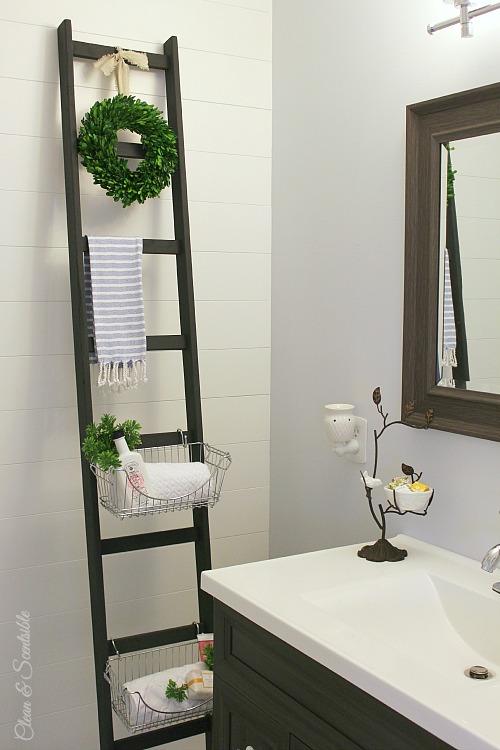
- two 1×3 boards {ours measure about 7 feet each} for the sides of the ladder
- wooden garden stakes or 1×2 boards cut down to your desired size for the rungs {we used 8 rungs on our ladder and they are about 11 inches in length}
- 1 1/4 inch wood screws
- drill
- wood putty
- level
- paint or stain {I painted ours with Annie Sloan Chalk Paint in Graphite}
- wire baskets {these came in packs of 2 at Target in the bathroom section}
- shower curtain hangers or ‘S’ hooks

DIRECTIONS
- Cut all of your wood pieces to your desired size and sand smooth. Make sure that you find your baskets before building your ladder so you can determine what the length of your rungs needs to be and how much space you would like in between your rungs. This will especially be important if you are wanting more baskets on your ladder to ensure that you have enough space.
- Once you have determined the distance that you would like between your rungs {ours are about 8 1/2 inches}, cut a spacer from the 1×2 board at that length to ensure that you place your rungs evenly.
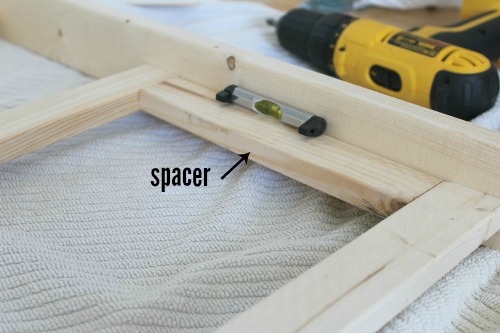
- If you are assembling the ladder on your own, you will likely need to use some wood glue to attach the rungs prior to drilling in the screws. In our case, I aligned and held the rungs while Dave did the drilling so we found that wood glue was not needed. Take extra care with the placement of the first rung, as that will determine the alignment of all of the other rungs to follow. Align the long edge of the rung parallel to the side of the ladder {see photo above} and place in the middle of the 1×3. Once you have this first rung in place, all you need to do is slip in your spacer and make sure that it is level when placing your next rung. Completely screw in the rungs on one side of the ladder before doing the other side.
- Once your ladder is assembled, fill in the screw holes with wood putty. Allow to dry and then sand.

- Paint or stain the ladder and allow to dry. Attach your baskets and some other fun accessories and you are good to go!

For more easy, DIY tutorials, check out these posts…


Original article and pictures take www.cleanandscentsible.com site
Комментариев нет:
Отправить комментарий