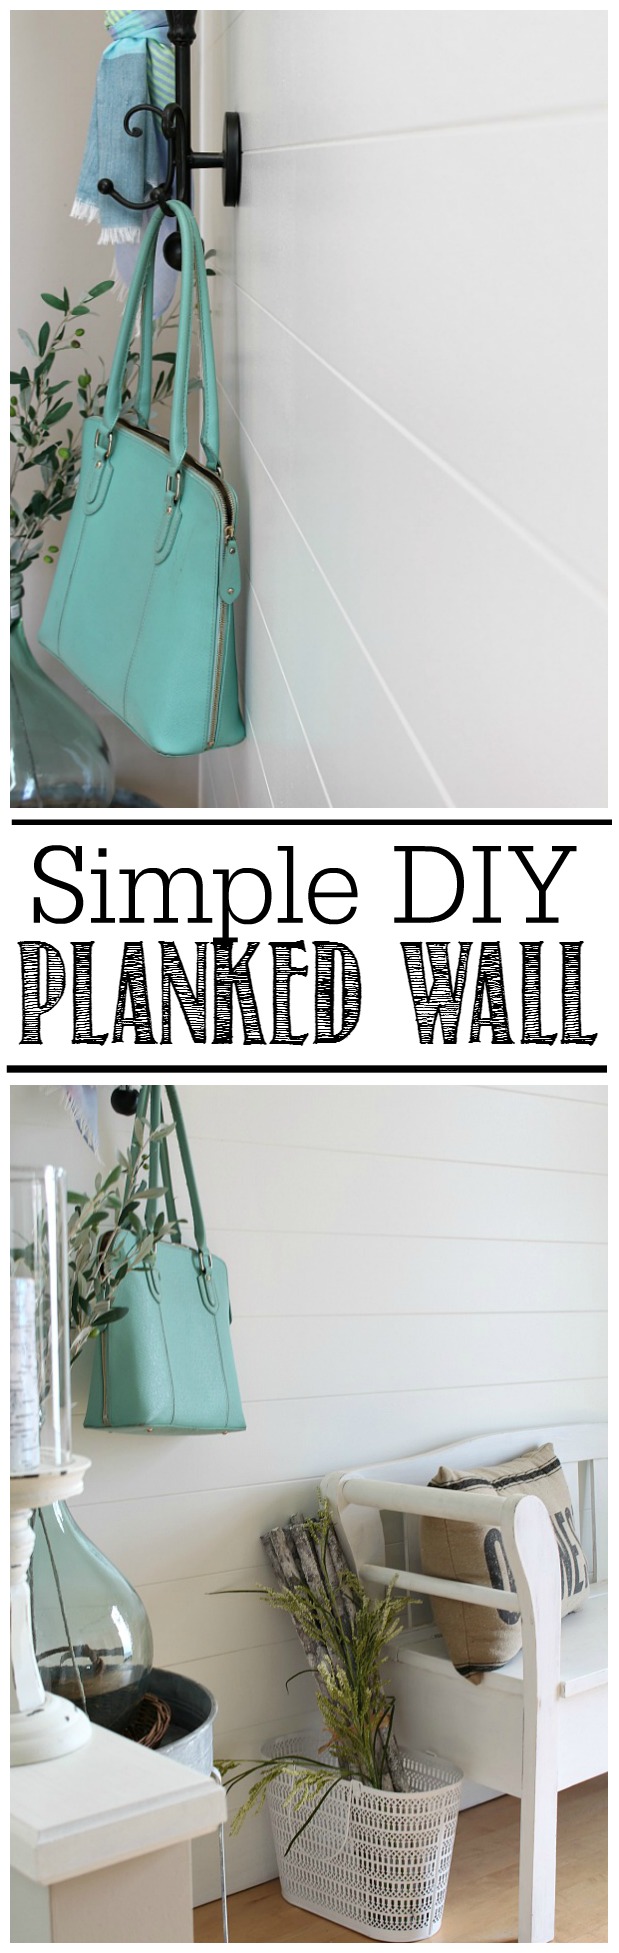
One of the things that I am learning as I get older is that I really can’t do it all {no matter how hard I try!} and I need to focus on the things that I do best and enjoy doing. For that reason, I have an awesome contractor, Rob, that comes in to do a few projects around the house every now and then {you can actually see him on his HGTV Canada pilot Forever Home} so I don’t get so overwhelmed. He’s worked on our kitchen and powder room and most recently added a plank wall to our front entry.
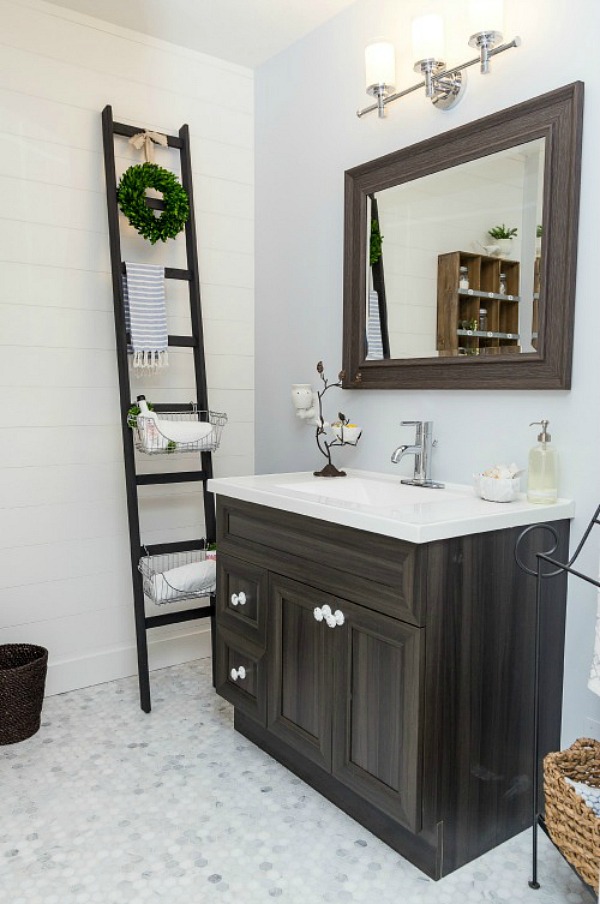
I love that shiplap, Fixer Upper style and have been wanting to add another planked wall ever since we did one in our bathroom last year. I think that it just adds some subtle dimension and character without being too much.
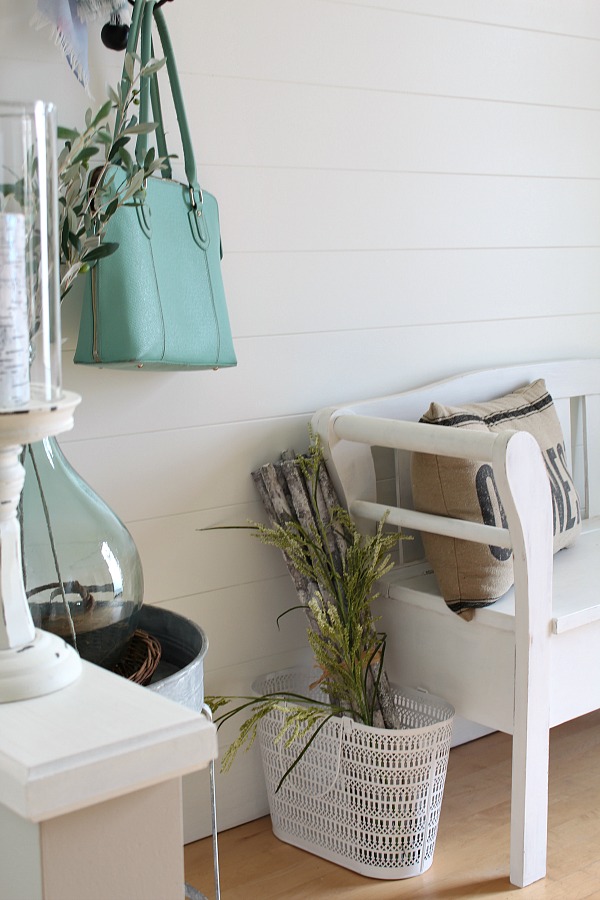
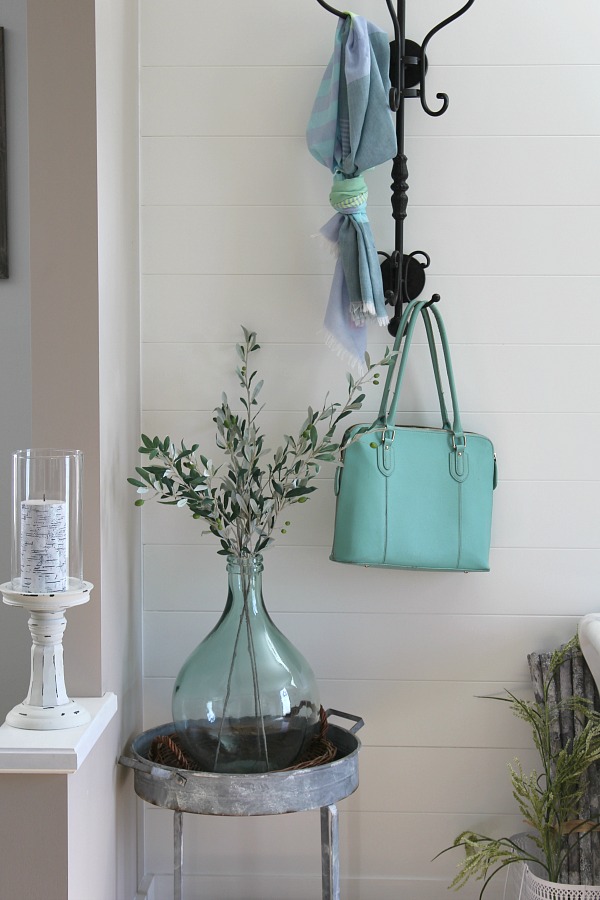
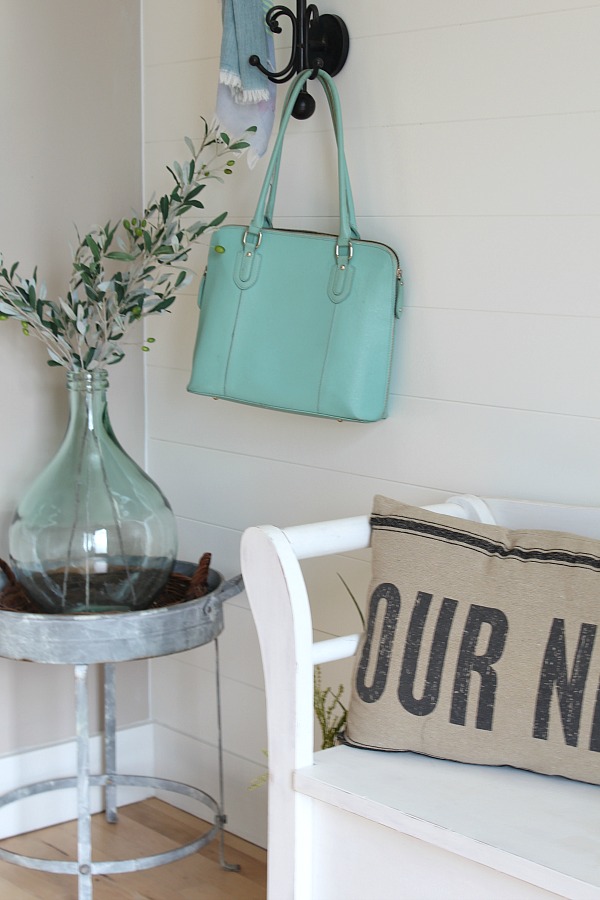
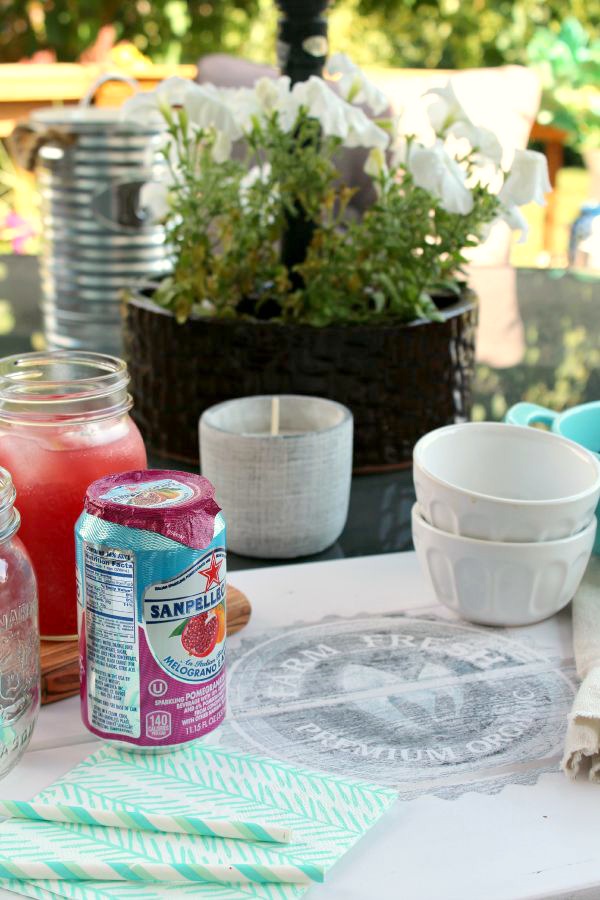
I was feeling like our entryway was a little blah and have been playing around with a few ideas over the last couple of months. I switched out some decorative accessories and tried a few different furniture switches, but nothing was really coming together like I wanted. In the end, I decided to actually simplify it a bit {less is more, right?} and make the wall more of a feature by adding the planking.
For those of you that would like to tackle this project yourself, I thought that I would document the basic steps for creating our planked wall. With just a few tools, it’s a pretty straight forward project and could be done in a day for a wall this size. There are a variety of materials that you can use for your planking including actual wood boards, tongue and groove boards, reclaimed wood, or cut down plywood. We went with pre-primed 5 1/2 inch trim board for this project – it saves a step on the painting {since I wanted them white}, was thin enough to use with our molding, and just seemed like the simplest option.
MATERIALS
- 5 1/2 inch trim boards {ours were pre-primed}
- stud finder
- nail gun and compressor {you could just use a hammer too but a nail gun is so much more fun!}
- finishing nails
- table saw or jigsawpaint
- paintable wood filler or spackle
- paint {Simply White by Benjamin Moore in a semi-gloss}
- caulking
- Jigsaw {if needing to cut around any permenant fixtures such as electrical outlets or windows}
TO DO
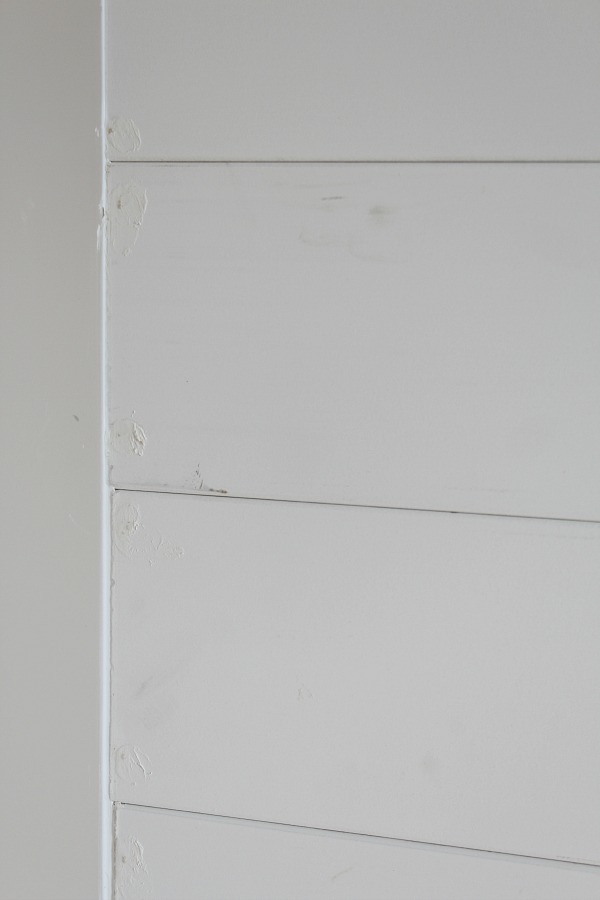
- Cut your boards to the desired length. I wanted the boards to be all one length across the wall rather than having staggered. The trim was removed around the window and added back after the planks went, but a jigsaw was still required to create cut outs on the boards around the window itself and electrical outlet. The top board also had to be cut down lengthwise to fill in the smaller length at the top of the wall.
- Decide on spacing. Our boards were pretty much butted right up to each other, but others prefer a slight space between the boards. If you do want your boards spaced, just use some pennies or nickels between the boards to ensure that they are all spaced evenly and double check with the level every few boards to ensure that things are still staying level.
- If you have a dark colored wall or plan on using a spacer between your planks, you will likely want to paint your wall the color of your boards prior to getting started. We didn’t paint our wall {since the boards are butted together} and you can’t see any of the old wall color poking through from behind.
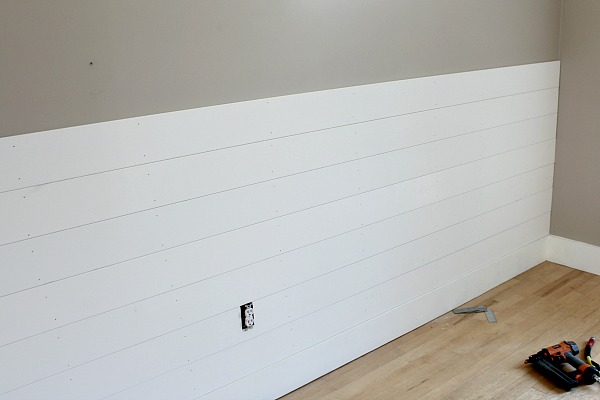
- Mark out the studs on your wall so you know where to secure the planks.
- Many of the tutorials that I have seen start by laying the first board starting from the ceiling, but since we already had our thick baseboard in place and it was level, we added the planks from the baseboards up. If you are starting from the ceiling {or not sure if your baseboard is level}, double and triple check that your first board is straight using a level or laser level. Most ceilings aren’t perfectly straight so don’t go by the ceiling lines and don’t worry if there is a slight gap. Attach the planks to the wall at the studs using an air gun and then add extra nails as needed to ensure the boards lay flat.
- Once all the boards are up, fill in the nail holes with wood filler and sand down. Caulk along the edges of the wall and ceiling.
- Now all that’s left is the painting! Be sure that you don’t get too much paint in between the grooves. If you see any blobs, run a think knife through the grooves to remove any excess. We painted ours with Simply White by Benjamin Moore to match all of the baseboards.

I still have a few little details and a couple of quick organization projects to do, and the entryway will be complete! I’ll be sure to show you everything else once it’s completed.
For more easy DIY projects, check out these posts…
Original article and pictures take www.cleanandscentsible.com site
Комментариев нет:
Отправить комментарий