Most posts contain affiliate links, which I earn a small commission from. These are provided for your convenience, and the price isn't increased at all.
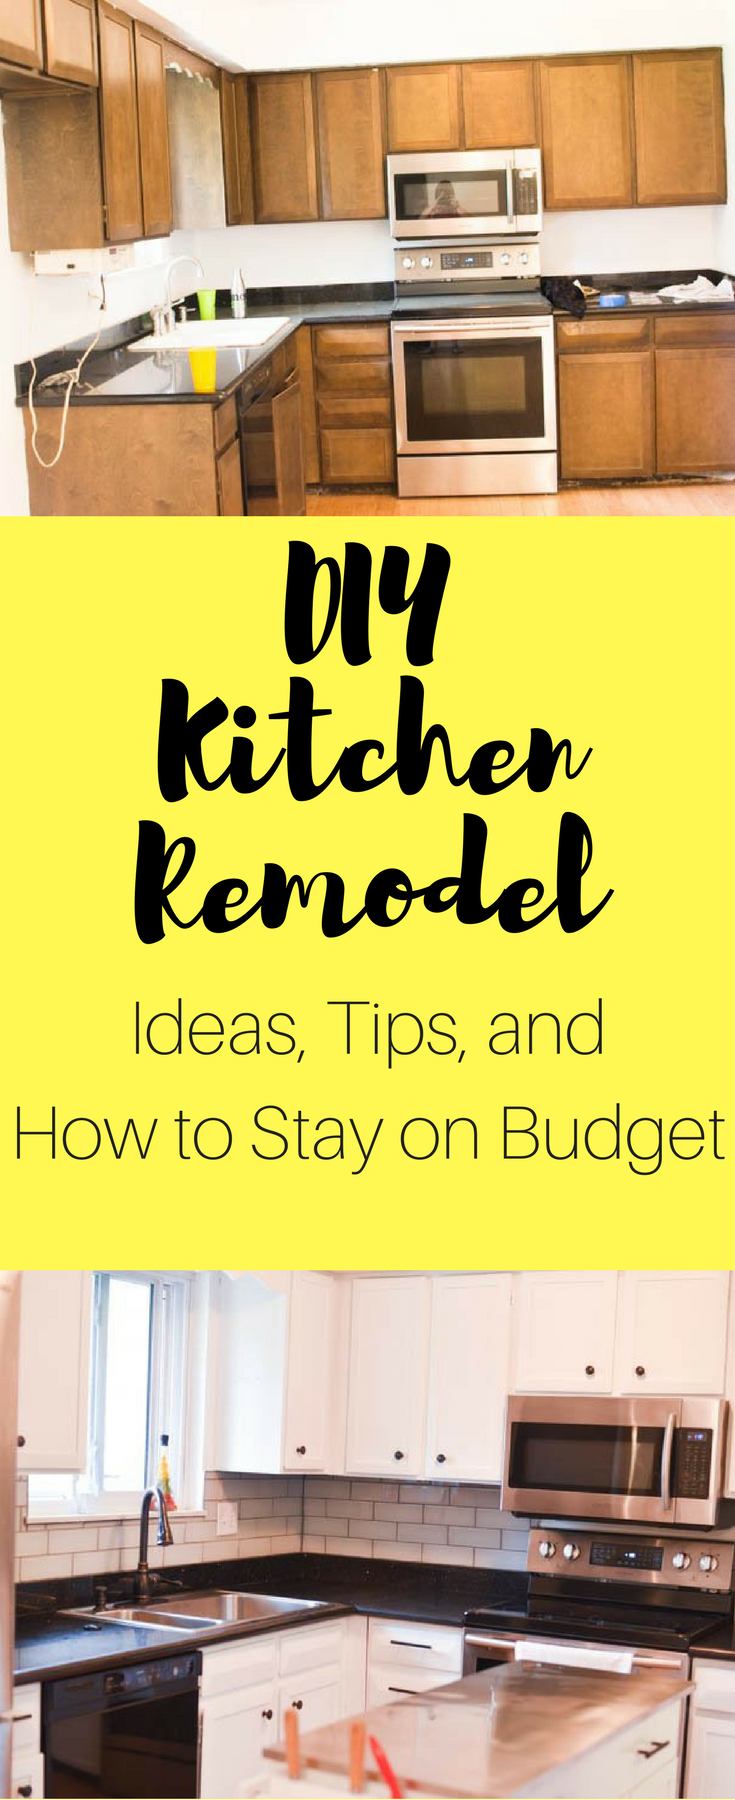
Looking for DIY Kitchen Remodel Ideas? Here are tips for doing the project yourself, as well as some ideas for saving on a DIY remodel.
Who wants to remodel their kitchen? A lot of people!
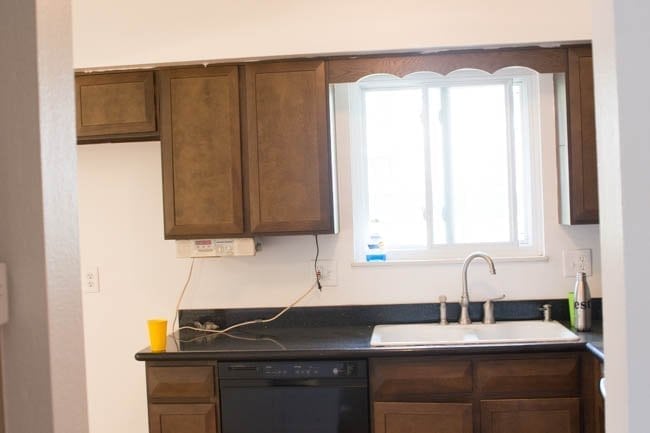
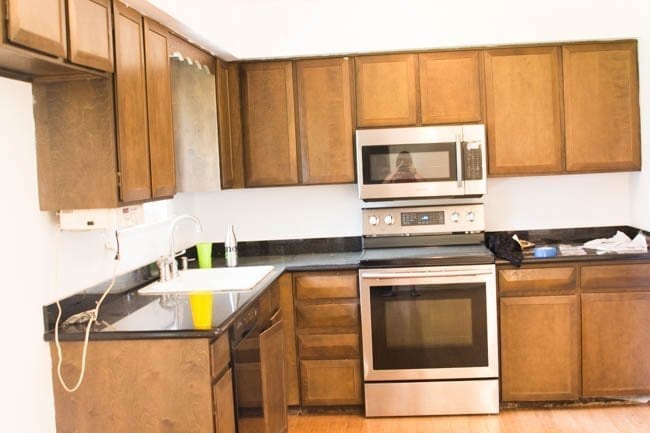
When we first moved into our house almost a year ago, we were welcomed by a lovely 70s kitchen (similar to my parent’s kitchen, where we did a DIY countertop makeover last year), and it was one of the first things we wanted to redo.
According to HomeAdvisor.com the average kitchen remodel costs $21, 637.
If you’re like us (and most Americans) you don’t have that kind of money sitting in your bank account, or you don’t want to be in debt and pay even more in interest. However, there are some things you can do to make your kitchen feel like new.
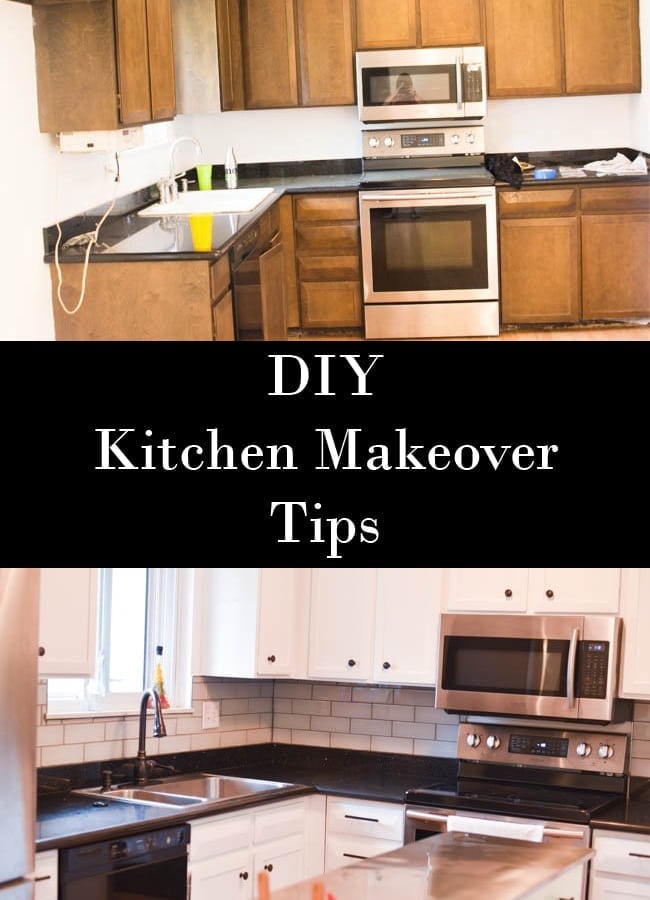
Here is an overview of our DIY Kitchen Remodel that we just finished up. It took quite awhile to finish, but we LOVE how everything turned out.
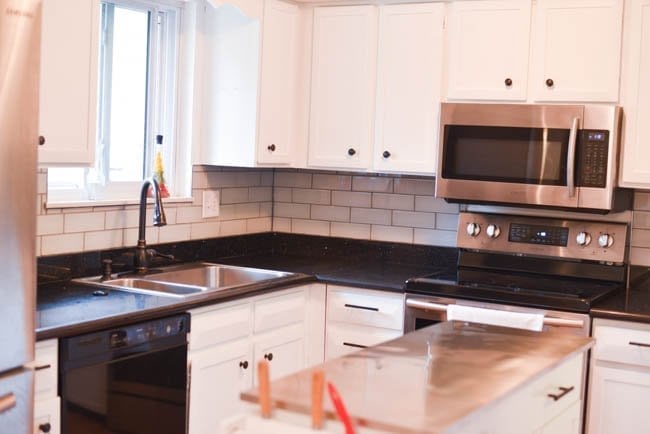
Before we go into details, here is a brief overview of what we did for our DIY Kitchen renovation:
- New sink and faucet
- New backsplash
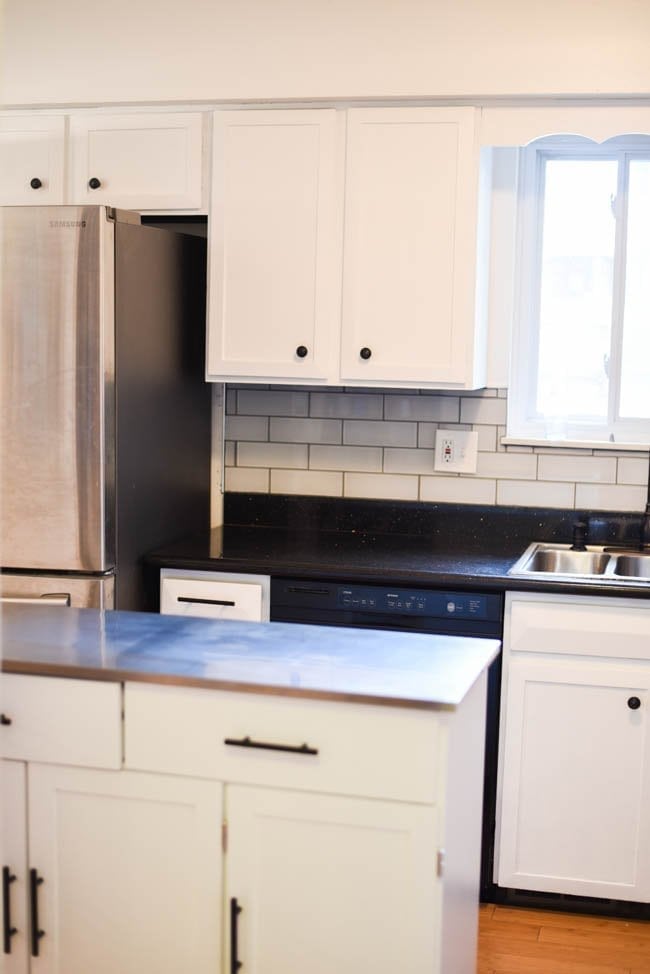
- Painted the cabinets
- Adding knobs and pulls
- Bought a kitchen island
DIY Sink and Faucet Install
- There are a lot of different styles and materials for both sink and faucet. We used Moen for our new stainless steel sink. Our sink is a 2000 Series Stainless Steel 20 Gauge Double Bowl Drop In Sink. It has one side with a deeper and wider bowl, and smaller side with the garbage disposal. We have really liked it. It was light and not too difficult to install.
- As I mentioned, the DIY Installation was not very hard. It might seem difficult to do, but in the simplest sense you unhook and replace. The plumbing is rather simple. You mostly just need some Teflon tape and channel lock pliers. Home Depot sells a universal sink kit with a variety of plumbing parts for about $15 with everything you need.
- The tricky part is getting the size right. If the size isn’t right, then it is important to remember that the edge of the sink covers the cuts underneath. You can trim things up underneath, which we ahd to do, and the rough cuts should be hidden. I had to get a diamond blade for an angle grinder to cut our granite counter tops. We rented the angle grinder for $5 from the Habitat for Humanity Restore.
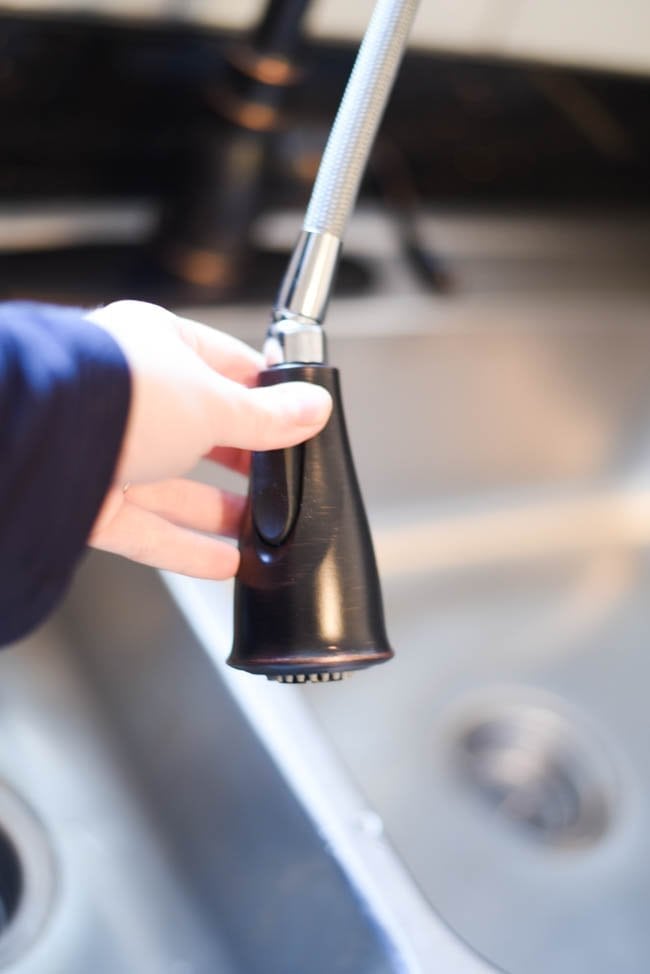
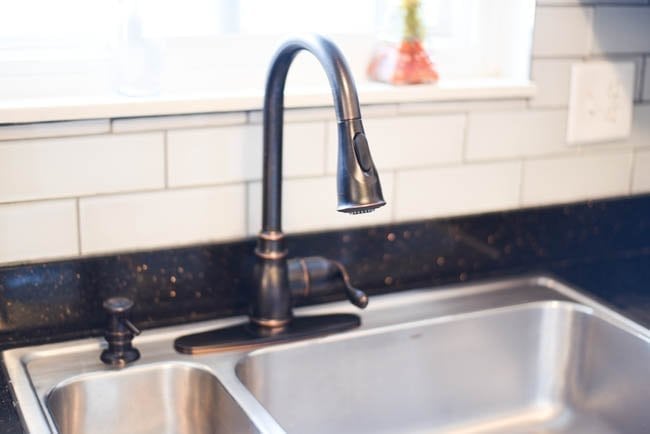
- The faucet we installed is from Moen – the Anabelle. We chose the Mediterranean bronze look that would match the flakes of bronze color that we have in our existing granite counter tops. The faucet comes with a Duralock quick connect system that helped to make it relatively simple to install. Though, you might need some adapters if your existing pipes don’t match up with the connectors from the faucet hoses. You can double check that ahead of time if you want to make sure you’re prepared.
- The faucet has some nice features that our existing faucet did not have. Our existing faucet had a separate a side sprayer that I almost never used. Having everything located all in one device makes the look more streamlined, but I find that I use the power stream for dish washing a lot more. Anabelle has Moen’s Powerclean feature that provides the pull down sprayer with 50% spraying power. This is something that I noticed before I even started reading about the features of the faucet. It is clearly more effective at cleaning dirty dishes than sprayers I have used in the past.
- The Anabelle has a Reflex system for returning the pulldown sprayer. I thought it didn’t really work at first, but then I realized that I didn’t attach the provided weight to the marked spot on the hose. After I did that, it worked perfectly.
- You can switch the flow from aerated to power spray easily, while also pausing the flow completely.
- The matching soap/lotion dispenser means that everything I need to wash dishes is right in front of me.
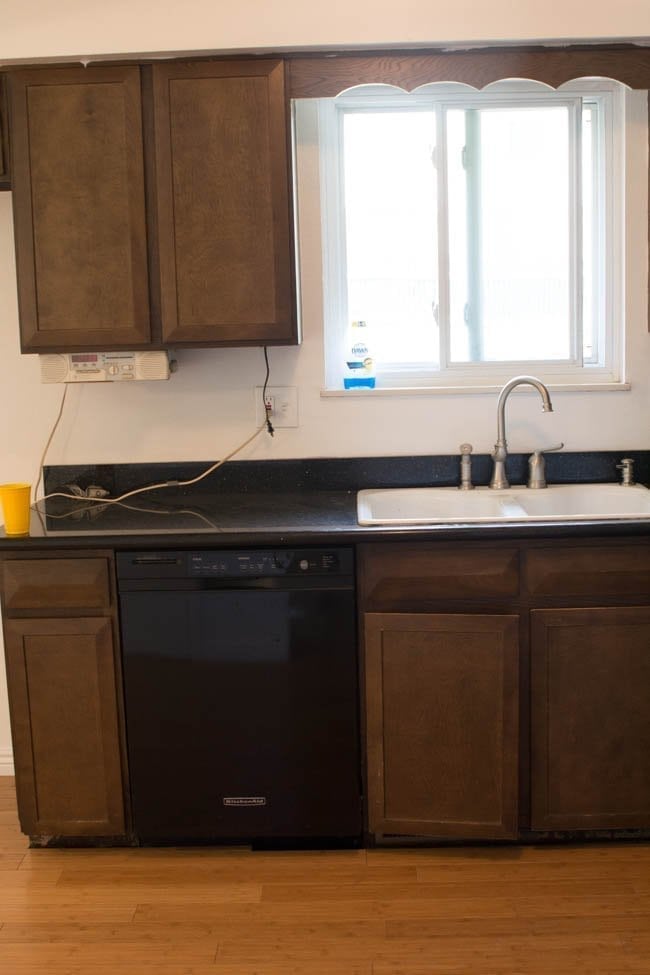
How to redo kitchen cabinets on a budget
It can be expensive to redo your kitchen cabinets. Installing new ones can run you thousands of dollars, and it puts your kitchen out of commission for awhile. It’s also not super easy to do on your own.
However, painting them and adding some hardware can make a big difference. There are lots of things you can do to achieve the look you want!
- If you are painting dark cabinets, make sure to read our tips for painting dark cabinets.
- A light-colored paint will help make the room seem brighter. We used bright white from the Deco Art Satin Enamels collection.
- If you have older cabinets with years of oil and grease soaked in you can use a stain blocker – we used Deco Art Stain Blocker and Sealer, and it worked pretty well. I might recommend a primer on top of that if you have dark cabinets and you are painting a light color.
- An easy way to update the look of cabinets is to install new hardware. We bought knobs and handles from Wayfair, and they really completed the look of our kitchen.
Add a new backsplash.
- There are a lot of different style and difficulty options for a backsplash – you can select the one that you are most comfortable with.
- Backsplashes are usually easier than paint to clean, and it can add a lot to the look of your kitchen.
- There are peel-n-stick options – Home Depot has some great options.
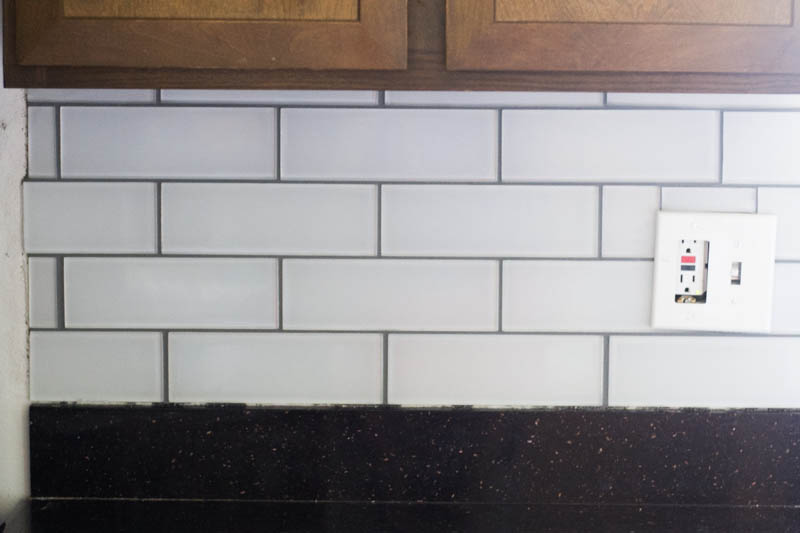
- Then you can do what we did, and you could install a glass subway tile backsplash. It did take a lot of time, but it turned out beautiful.
- Tip: with glass tile, the color of your grout lines will change how the tile color appears.
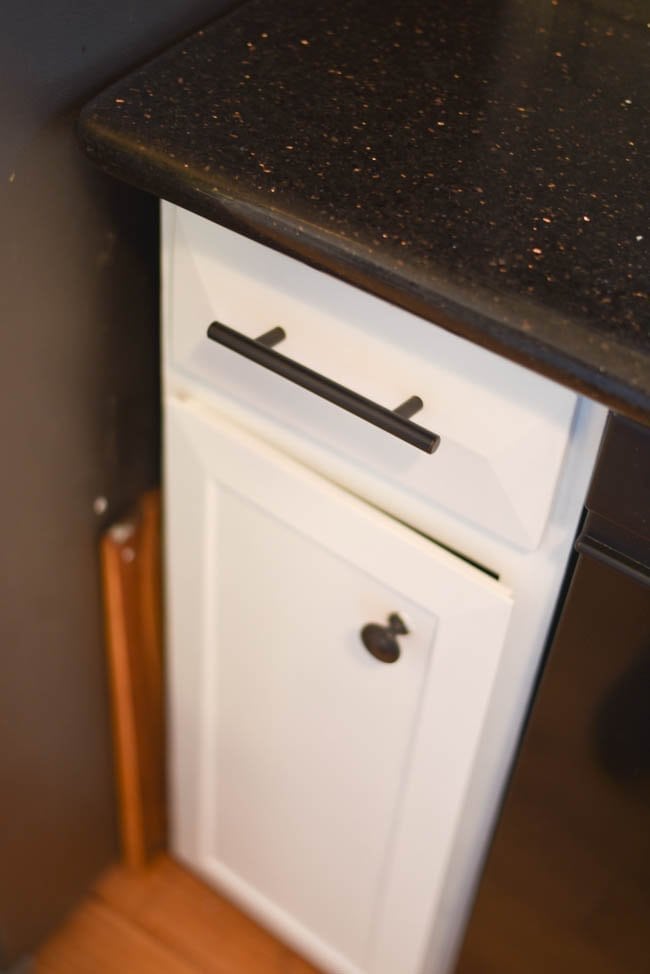
Add knobs and pulls
- Plan ahead so that they match the faucet or other metal objects in the room.
- Buy extra knobs and pulls if you plan on getting an island, so the island’s knobs and pulls can match the cabinets.
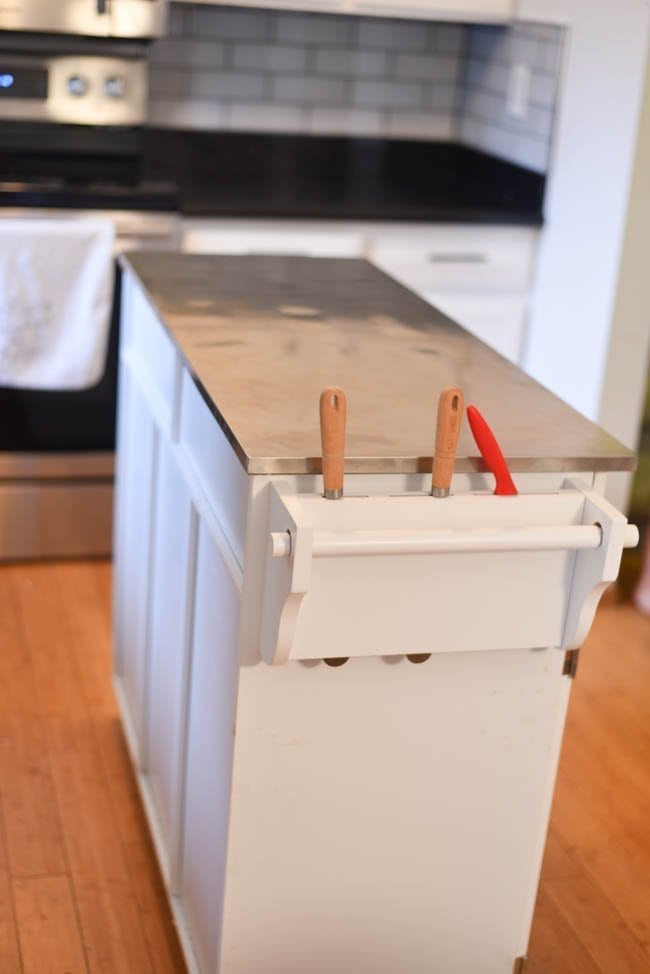
Add a kitchen island.
- It doesn’t have to be huge, and it can even have wheels.
- You can get a stainless steel top, or even a wooden, cutting board style top.
- Island can add storage space underneath, which essentially adds cabinet space without new cabinets.
- The one we purchased is from Wayfair. They have a huge variety of kitchen islands, though be aware that they can take quite some time to put together.
Updating Countertops
This can be one of the pricier parts of a kitchen upgrade. Fortunately, the homeowners before us had randomly decided to put in granite countertops, which we were grateful for!
However, if you aren’t as lucky, there are some things you can do:
- Paint them – you can see how we did this with my parent’s countertops in this DIY countertop makeover. This isn’t the most long-term solution, but if you can’t replace them, this is a great option.
- Countertop alternatives – laminate, wood block,
- DIY Concrete Countertops (this is what we are doing in our bathroom)
Update the floors
- If you have old wooden floors you can look into sanding and refinish the wood.
- If, by some misfortune, you have really old linoleum, there are some new flooring products that you can just lay on top of an old floor. We used NuCore Flooring for our bathroom, and a similar idea would be great for a kitchen.
Update the lighting
- You can install some under cabinet lighting, or you can even just add some newer light bulbs with a different color light.
- You could even add some lights that you can control with your phone.
- Floor lamps are a pretty inexpensive option for increasing the light in a room. We bought a great one at Ross that we really love.
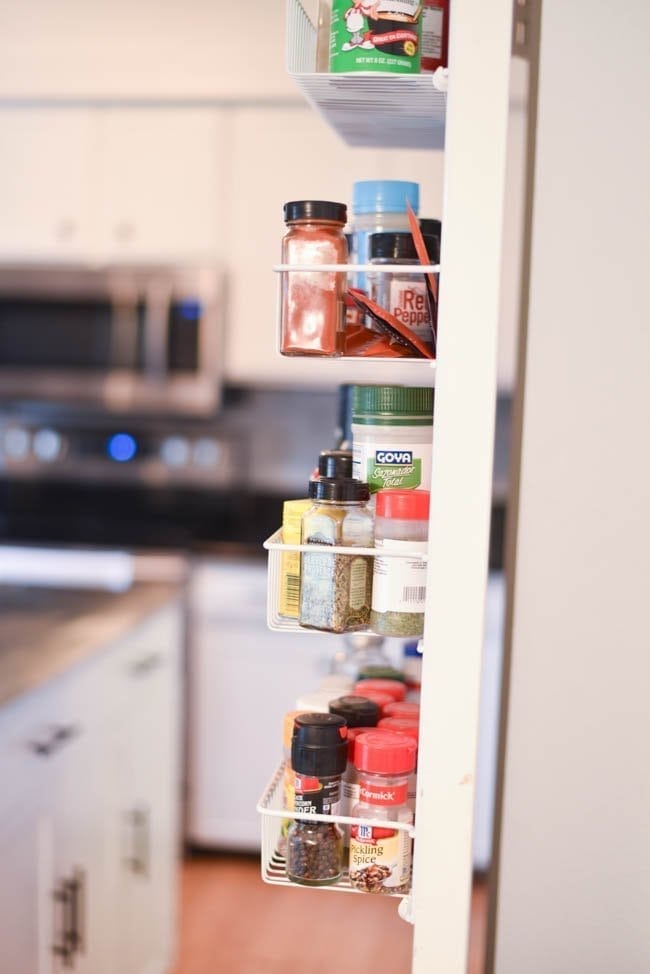
Add spice racks
- Stackable spice racks are great for cabinets to add layers, and thus storage space for spices.
- If you have a closet for a pantry, you can add hanging spice racks to the inside side of the door.
Tips for Saving on a DIY Kitchen Remodel
- Rent tools from a place like the Habitat for Humanity ReStore. They are VERY inexpensive, and we found that they were good quality. We did have to buy a new blade for what we rented, but it was still very affordable.
- Watch for sales, closeout products, and clearance. We’ve found some great deals looking at these sections in the store.
- Shop around for the best prices – we went to one tile store and then to another, and the difference in price was astronomical. However, we couldn’t see too much difference in the quality.
- Check Craigslist, Facebook, ReStore, Nextdoor, etc.
- Consider countertop alternatives that are less expensive
- Work around existing appliances – if you don’t have to mess with the plumbing and electric…don’t!
- If you are buying new appliances, make sure you read my post about how to save big on appliances and electronics. how to save big on appliances and electronics
- Limit recessed lighting – track lighting or even lamps is a great alternative
Obviously, the biggest place you can save on any project is on labor. A lot of the projects listed above are relatively doable by most do-it-yourselfers.
Obviously, you have to ask yourself if it is worth your time and effort.
We’ve just taken it one project at a time. It has taken a while to get as far as we have gotten, but we are really happy with the results. I think we have added value to our home as well, which will benefit us if we have to sell the house in the near future.
Improving your kitchen doesn’t have to all or nothing, nor all at the same time. Tackle one project at a time on a budget you can afford, and before you know it your kitchen will at lest feel like new.
One central place to start is with a new kitchen sink and faucet. I grew up in Sanford, North Carolina, and Moen has a plant there. I appreciate that they employ people in a small rural city like Sanford, so when we were discussing who we should contact to help us with updating our kitchen I thought of them. Fortunately, I was not disappointed in the quality of the Moen products that we have received. We invite you to check out Moen.com for the bathroom and kitchen products that might be right for you.
Original article and pictures take www.clarkscondensed.com site
Комментариев нет:
Отправить комментарий